Link Position is the placement of a link on a webpage. Tracking link placement is vital because it is used as a ranking factor in Google’s algorithm. Strategizing where internal backlinks will be placed will help pass PageRank to pages you deem essential. This placement, in turn, will signal to Search Engines what you see as your most important pages on the website.

To optimize link placement at scale, you will want to use a Link Analyzing tool like Screaming Frog.
Table of Contents
What Is Link Position?
Link position refers to the placement of a link on a page, the most common page sections are the navigation, sidebar, main content, or footer.
Screaming Frog can analyze the position of the links on a page based on HTML code using semantic HTML5 elements. These areas are typically named “header, nav, footer.”
If Screaming Frog cannot accurately distinguish your link placement because your website does not use a semantic HTML5 structure, adding those structures to your website would be advantageous.
Why Is Link Position Useful?
Identify & Fix Links
Analyzing your link structure is super helpful in identifying broken and malformed links. It can also help prioritize which links to fix first and which could signal too much importance.
Improve Internal Linking
Improving the internal linking structure will help important content perform better. Link optimization can also assist in improving users’ click-through rates of call-to-action links.
Optimizing internal links helps search engines (using Google’s Reasonable Surfer Model) consider the amount of PageRank a link might pass along based on the probability that someone might click on a link.
How To Analyse Link Position
To start, you will need to download and install a free copy of Screaming Frog 🐸 (up to 500 URLs) after you’ve installed the software on your website. You will need to perform your first crawl.
Crawl The Website
Add the website you’d like to crawl in the ‘Enter URL to spider’ box and hit ‘Start.’
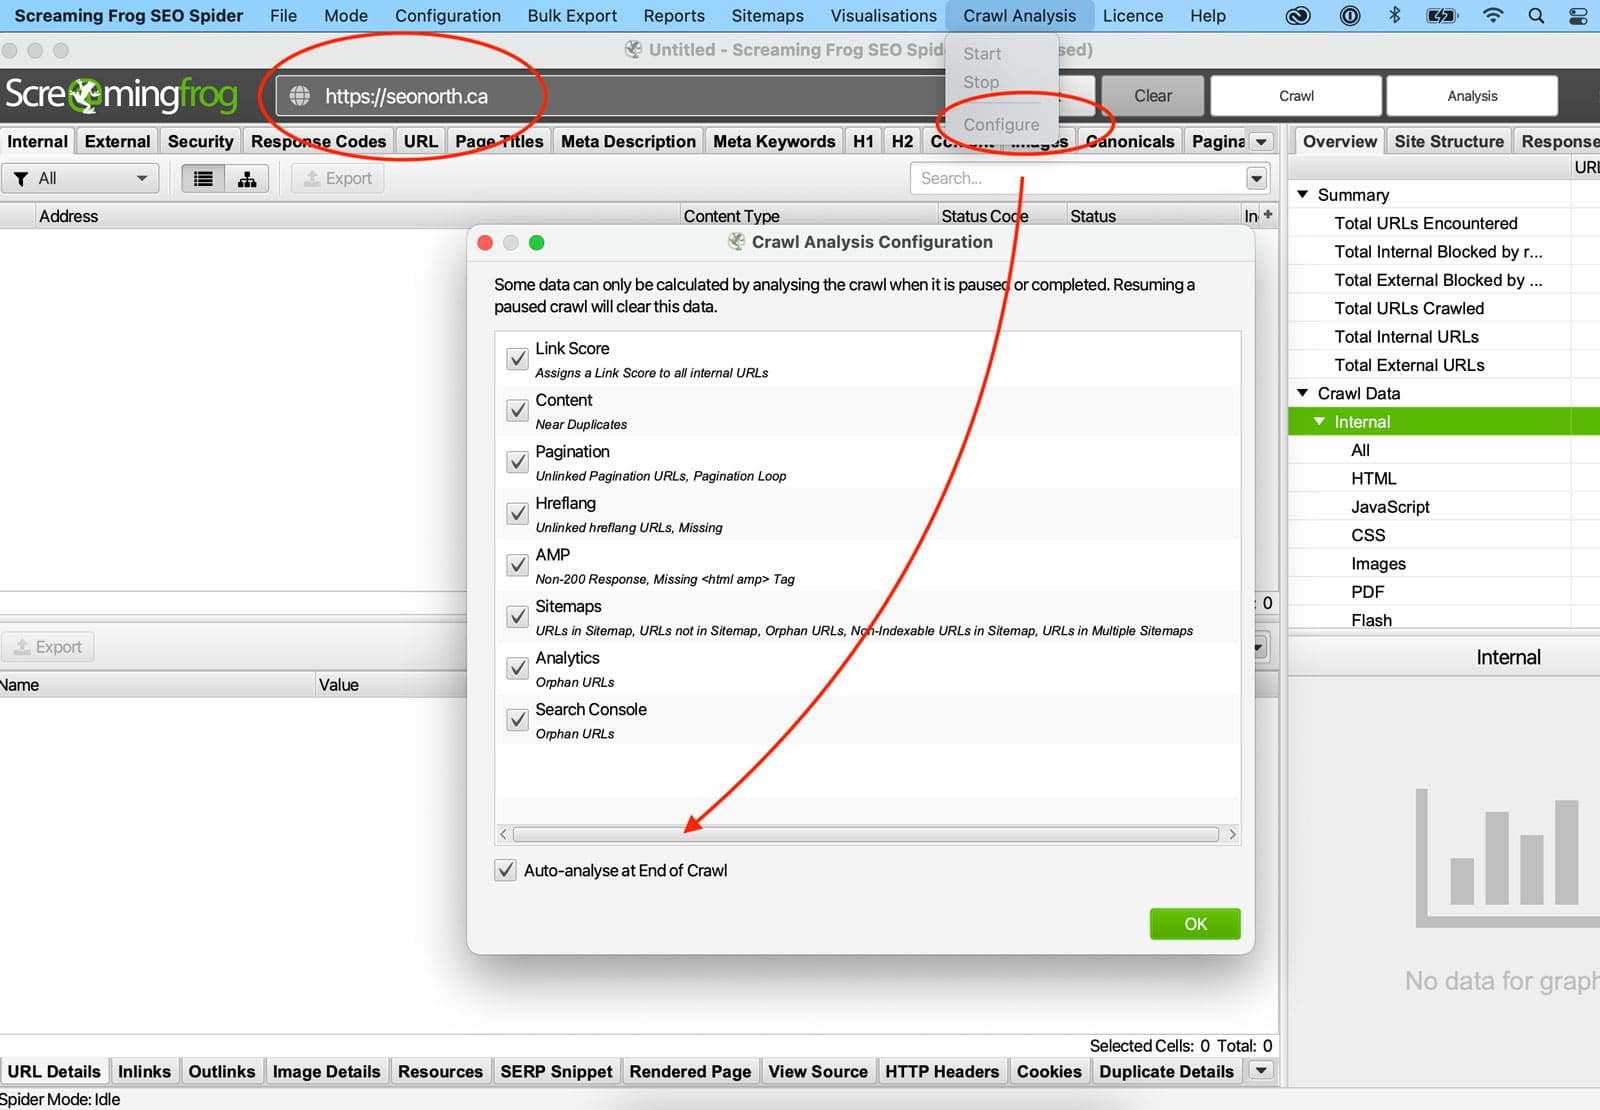
Wait for the web crawl to complete and analyze. If the crawl doesn’t analyze automatically when finished. Click on Crawl Analysis >> Configure >> Auto-analyse at End of Crawl.
Highlight URLs In The Top Window
In any tab, highlight the links you want to analyze for inlinks position. Shift-click for a row of links to select specific links; use ‘control’ click on Windows or ‘command’ click on macOS.
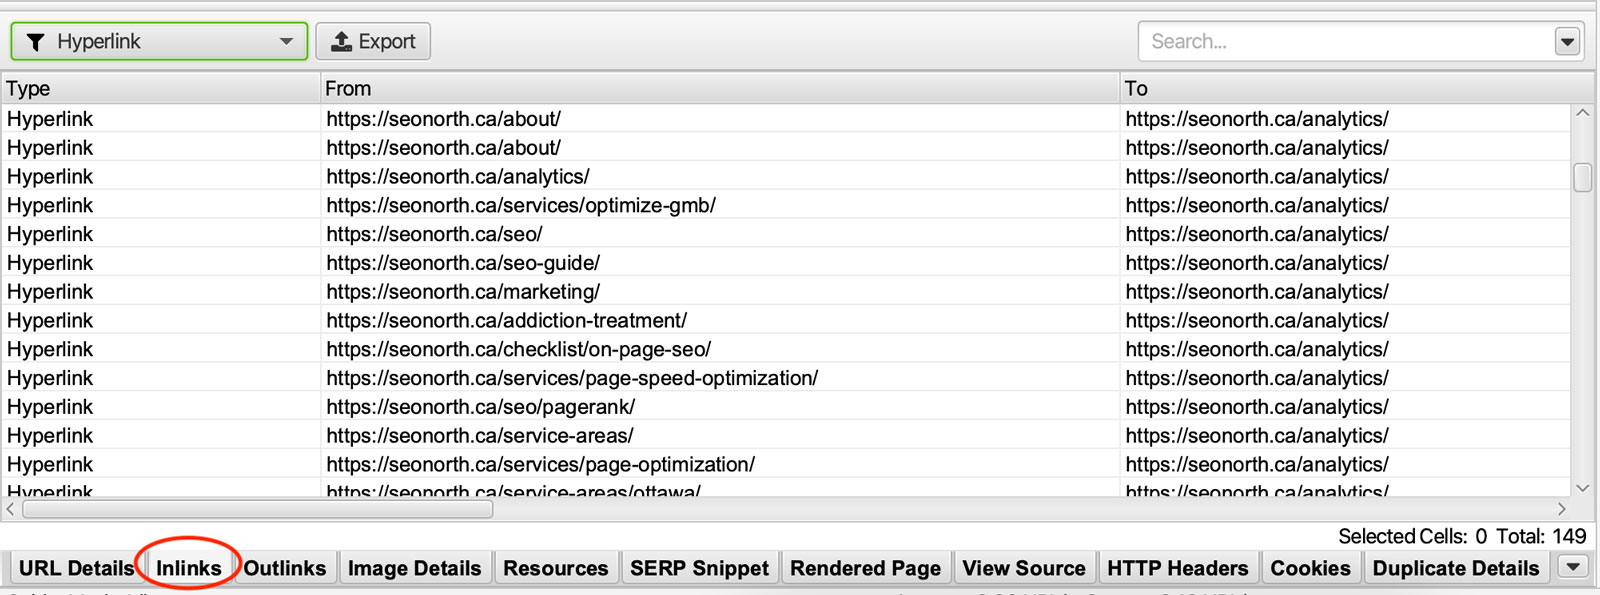
Click ‘Inlinks’ To View Internal Links To URLs
In the lower window of the app, you will see a tab called ‘inlinks,’ this tab will show the highlighted URLs. Filter the link type to ‘Hyperlink’ to only show links within anchor tags.
Scroll To View Link Position Column
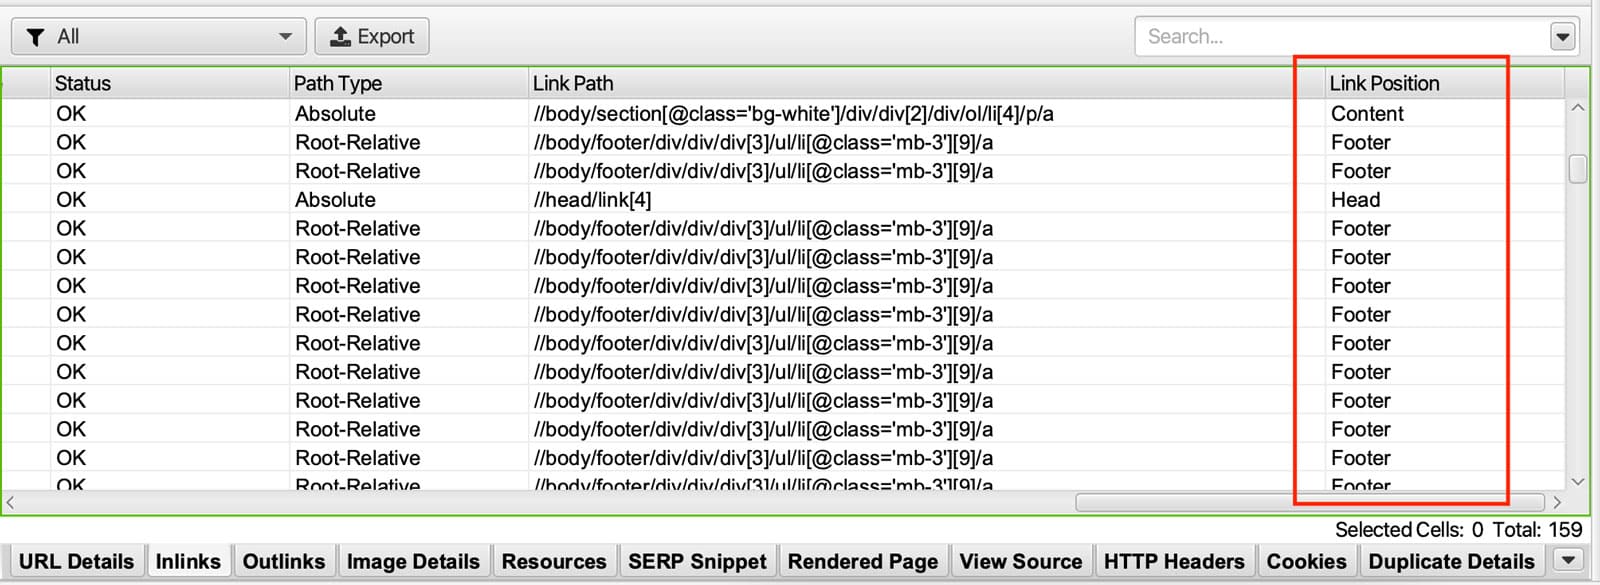
Scroll to the right of the inlinks tab; this will show you a list of link placement locations. From here, you can sort and organize by link position.
The default link position classifications are Navigation, Header, Aside (sidebar, call-out sections), Footer, Content.
You can also view the position of outlinks from any page in the same process as analyzing inlinks.
Bulk Export Inlinks & Link Position
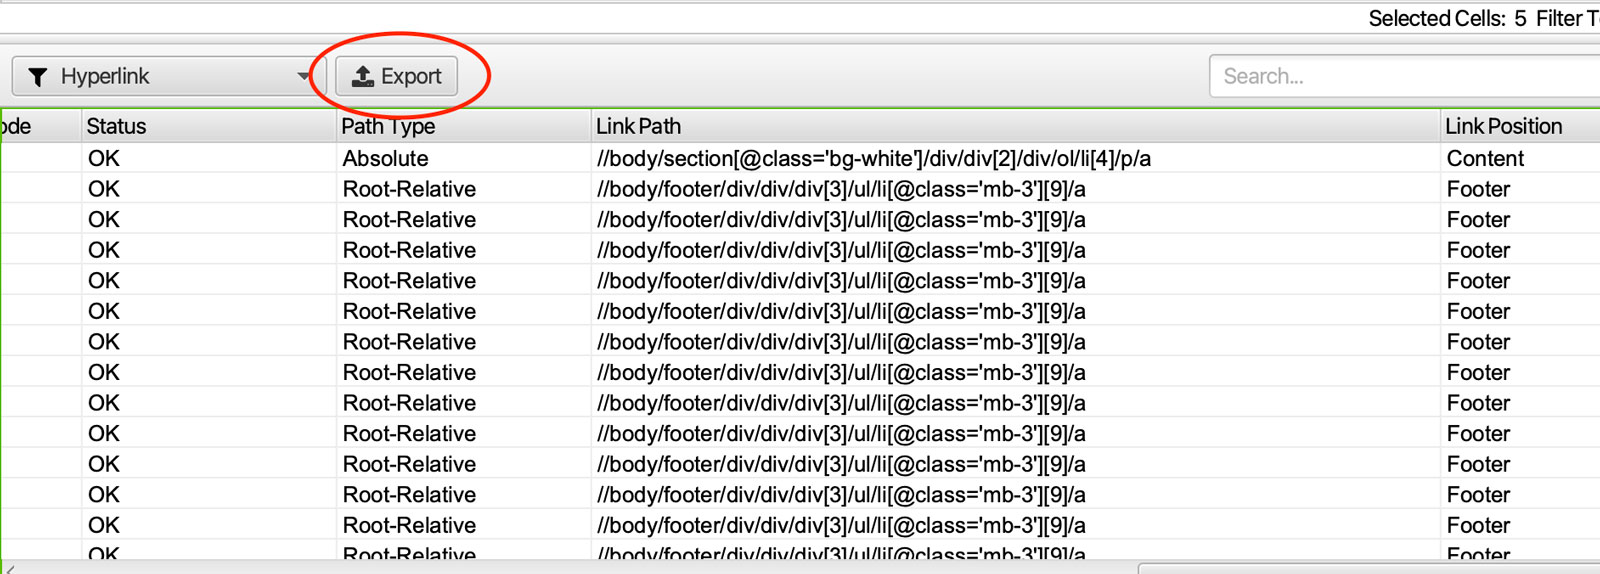
To bulk export internal link data, including link position, use the ‘export’ button on the inlinks tab. Bulk exports will include all link data for the URLs highlighted in the top window.
You can also export the same data by right-clicking on URLs in the top window and using ‘Export > Inlinks.’
Finally, to export all inlink or outlink data for every URL in the crawl, use the ‘Bulk Export > Links > All Inlinks / All Outlinks’ export.
Summary
Hopefully, this link position tutorial was helpful and will improve the internal linking structure of your website, improving your SEO rankings.
FAQ
What is Link Position?
Published on: 2021-05-29
Updated on: 2023-03-14


