Understanding Screaming Frog: Its Utility and Why It’s Essential for You.
Suppose you are looking for an SEO tool that will allow you to scrape competitor websites, crawl pages, validate links in minutes, and provide information about any errors or warnings on your site. In that case, Screaming Frog is the ultimate must-have. The company’s website crawler can be customized to your needs and has robust features. It provides insights into the pages of your site that need optimization to rank better in search engines like Google. You can use it to find duplicate content, check robots.txt files, and even export data from XML Sitemaps! This article discusses how Screaming Frog can help with everything from link building to content discovery.

What is Screaming Frog?
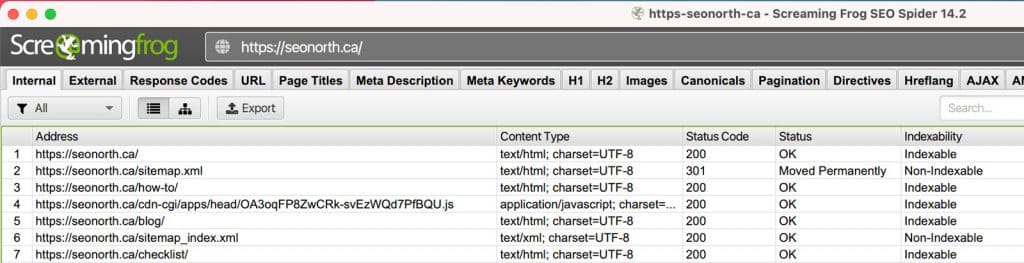
“Screaming Frog SEO Spider” is an SEO developer tool created by the UK-based search marketing agency Screaming Frog. Their SEO Spider is a website crawler that improves onsite SEO by extracting data & auditing for common SEO issues.
How is Screaming Frog practical?
With this tool, you can:
- Find broken links
- Audit redirects
- Analyze Page titles & metadata
- Discover duplicate content
- Extract data with CSS path, XPath, or Regex
- Review bots and directives
- Generate XML sitemaps
- Integrate with Google Analytics, Google Search Console, and PageSpeed Insights APIs
- Crawl Javascript websites
- Visualize website structure / architecture
- Custom Extractions
- Scrape SERPs
Why use Screaming Frog?
The SEO spider mimics a GoogleBot web crawler, which gives you valuable insight into how Google Search sees your website.
These website scans give you insight into fixing possible website errors while providing key areas to focus on and improve your search results.
Is Screaming Frog free to use?
Screaming Frog is free to use, with up to 500 pages per scan. If you wish to scan more pages, you must upgrade to a paid plan.
Where to download Screaming Frog?
Here is where you can download Screaming Frog for free:
Where can I get a Screaming Frog License?
You can purchase a Screaming Frog License from the official website:
How do I start using Screaming Frog SEO Spider?
- First, you need to download the screaming frog tool
- Install the software on your computer
- Open the program
- Add the domain name you wish to scan in the top toolbar
- Wait for the scan to finish, and analyze your results.
- Optional: Customize your Audit settings for the most optimal reporting
I will be creating a more in-depth guide on how to get started. This guide gives you a broad understanding of how this program functions.
Screaming Frog FAQs
What is Screaming Frog?
Why use Screaming Frog?
How do I start using Screaming Frog SEO Spider?
How to clear the cache on Screaming Frog?
Learn more about practical Screaming Frog uses.
- How to Audit Canonicalized URLs Using Screaming Frog
- Scrape Google SERPs with Screaming Frog
- Screaming Frog Custom Extractions: A Guide to Extracting Crawl Data
- How to Install Screaming Frog SEO Spider (Windows, Mac, and Linux)
- How to Set Up OpenAI in Screaming Frog
- Screaming Frog 403 Forbidden Error
- How to Automate SEO Audits with Gemini in Screaming Frog: A Step-by-Step Tutorial
- How to Install and Connect the Screaming Frog MCP on a Mac (The Parts Other Guides Skip)
- How do I allocate more memory to Screaming Frog?
- How to Use Ollama Locally with Screaming Frog for AI-Powered SEO Crawling
- Fixing Non-indexable URLs in Screaming Frog
- How to Connect Anthropic (Claude) to Screaming Frog for AI-Driven SEO Analysis
- Why is Screaming Frog not crawling all URLs?
- How to Identify Semantically Similar Pages and Outliers Using Screaming Frog
- How to only crawl a subfolder using Screaming Frog
- How to Clear Screaming Frog Cache: A Step-by-Step Guide
Published on: 2021-03-10
Updated on: 2025-10-09