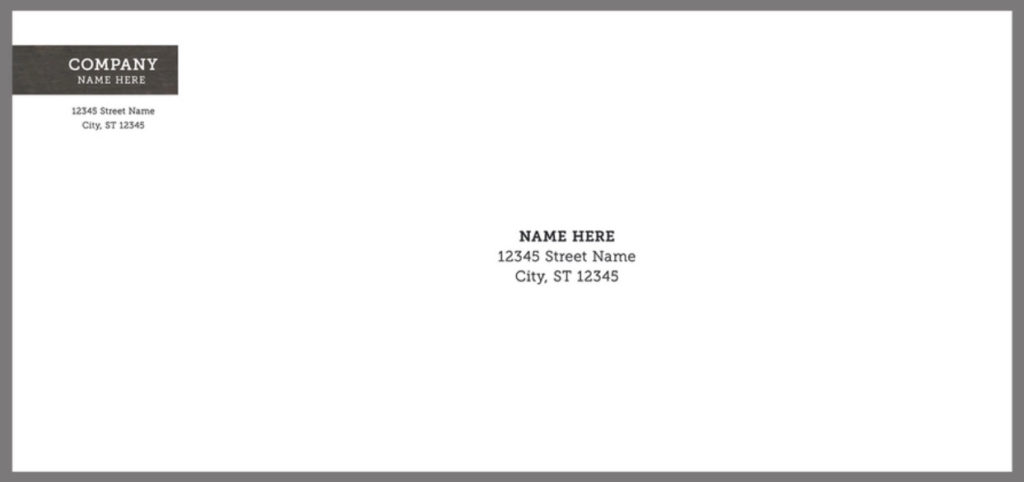
Addressing an envelope may seem straightforward, but following the correct address format ensures your letter or package arrives on time and without issues. Here’s a step-by-step guide for addressing an envelope that meets United States Postal Service (USPS) standards.

Table of Contents
Step 1: Write the Return Address
The return address is crucial in case your mail cannot be delivered. The return address should be placed in the upper left-hand corner of the envelope and should follow these guidelines:
- Full Name or Sender’s Name: Include the sender’s full name on the first line. For businesses, use the company’s name.
- Street Address, P.O. Box, or Apartment/Suite Number: Include the sender’s street address (or P.O. Box) on the next line. If there is an apartment or suite number, write it after the street address using abbreviations like “Apt” or “Ste.”
- City, State, and ZIP Code: On the last line, write the city, state (using USPS-approved state abbreviations), and ZIP code. Use capital letters for better readability. For example:
JOHN DOE
123 MAIN ST APT 4B
NEW YORK, NY 10001

Step 2: Add the Recipient’s Address
In the center of the envelope, write the recipient’s address, formatted similarly to the return address.
- Recipient’s Full Name: Write the recipient’s full name on the first line. Use “Attn:” if sending to a specific person within a business.
- Street address, P.O. Box, or Suite Number: Write the recipient’s street address or P.O. Box on the next line. Include any apartment number (Apt), suite (Ste), or box number here.
- City, State, and ZIP Code: Place the city, state, and ZIP code on the last line. For international addresses, include the country name on a separate line in capital letters.
Example:
ATTN: JANE SMITH
456 BROADWAY STE 8
LOS ANGELES, CA 90012
For military addresses (APO, FPO), follow the special address format provided by USPS and specify the address correctly to avoid delays.
Step 3: Place the Postage Stamp
Place the postage stamp in the top right-hand corner of the envelope. Use a permanent marker or pen to write the address clearly, and avoid smudging the ink, especially on important mail like wedding invitations or thank-you notes.
Addressing Envelopes with Special Situations
- Married Couples or Families: For formal invitations, use the couple’s full names, such as “Mr. and Mrs. Smith.”
- Companies: When addressing a business, write the company’s name on the first line, followed by “Attn: [Person’s Name]” if directed to a specific individual.
- International Addresses: Always write the country name in English on the last line in all capital letters, such as “CANADA“ or “USA.”
- Abbreviations: Use standardized abbreviations for street types (St., Ave., Blvd.) and states (NY, CA), and avoid commas or excessive punctuation.
Tips for Proper Envelope Addressing
- Capital Letters: Writing in capital letters enhances readability and can improve delivery speed.
- Correct Address Format: Make sure to double-check the correct address format, especially if mailing to a P.O. Box, APO, or FPO.
- Use Separate Lines: Each part of the address (recipient’s name, street address, city/state/ZIP) should go on separate lines for clarity.
Whether you’re sending a Christmas card, wedding invitation, or thank-you note, following these steps will ensure your mail is addressed correctly and arrives without delay. Taking a moment to confirm these details helps both the postal service and the recipient receive your mail promptly and accurately.
FAQ
How to address an envelope with apartment number?
Published on: 2024-11-02
Updated on: 2024-11-05